For our most recent Niece Night, the theme was pizza. We decided to make several different types of pizza so we could all have what we wanted and try new things. I remember making pizza with Nana growing up and I was always amazed at how she just happened to have everything on hand. I don't know if she planned on making pizza with me when she went to the store or if she really did just have a stockpile of pizza toppings at her house out in the boondocks. (Probably a combination of the two!)
Dough
What you need:

Flour, sugar, warm water, yeast, olive oil and salt.

Start by dissolving yeast in warm water.

Stir it until dissolved, and add sugar, salt and olive oil,

and pour it into a mixing bowl.

Add in flour in a few batches...

...and whisk until smooth.

When your arm/dollar store whisk nearly breaks,

bust out the mixer!

The last few batches of flour will have to be kneaded by hand. Be careful not to over-knead the dough!

When all the flour is incorporated, cover it and set it aside to rise about 45 minutes. (I kept wanting all the residue on the sides to be mixed in, but I eventually realized if I waited for that to happen, my dough would probably be over-mixed, so just breath deep and let it go!)

I made this on a gorgeous day and had every door and window open to let in some sun, so the coffee table was the perfect place to let it rise.

This is how much it grew in the 45 minutes or so I let it sit.

Prepare a pizza stone by sprinkling it with corn meal.

Punch down the dough and take it out of the bowl.


I made enough dough for four pizzas (one recipe makes enough for two) so I had to split it into four sections. You could smush it into a ball and cut it into even pieces with a knife, but I just used my hands.

Use a handy dandy little pizza roller to roll the dough onto the stone.


Keep going until it is a wide or thick as you want. It doesn't have to be perfectly round, if it's funky-shaped, just call it "rustic" and act like it was on purpose.
Now the fun part!
What you need:

We used all sorts of stuff, but you'll want assorted cheeses, vegetables, and meat, as well as olive oil and tomato sauce.
Margarita Pizza
The first pizza we made was a margarita pizza. I have no idea why it's called margarita because it doesn't involved tequila and lime. It should be called Caprese pizza because it is covered in basil, tomato and mozzarella.

Start by brushing the dough with olive oil... preferably with a hilariously large grill brush because that's all you can find in your uncle's house.

Throw on a layer of shredded mozzarella.

Start layering pieces of basil,

tomato,

and finally top it with cute little balls of fresh mozzerella. At this point Micah and I had a bet going with Jason that the balls would melt out evenly, and Jason thought they would just stay in ball form and suggested we cut them in half. Well, Micah and I are a stubborn force to be reckoned with so we had a pow-wow with the oven gods to make sure we would end up right.

But we did let Jason grate some yummy garlic all over the top.

The moment of truth....

Looks like the gods were in our favor!!

Would ya look at that!


Top it with even more fresh basil and enjoy!
It was deeeeelicious.
Roasted Chicken Pizza with spinach, caramelized onion and feta
Next up was my own creation. I really have no idea where it came from but I just thought it up and decided it would be delicious.

Spoon some sauce all over the dough (Nana's sauce recipe below).


I chopped up this delicious chicken I came across...

at Sam's mega-huge-super-store.

You can't go wrong with rotisserie chicken!

Spread some mozzarella around...

and decorate it with spinach leaves.

Spoon on some delicious, buttery caramelized onions. (One huge onion sautéed to death in about a half stick of butter.)

Looks good so far, but we still ain't done!

Now, sprinkle feta cheese all over!
Do you pronounce it faay-tuh or fet-uh?
I say faaaaaytuh and get made fun of by my family.
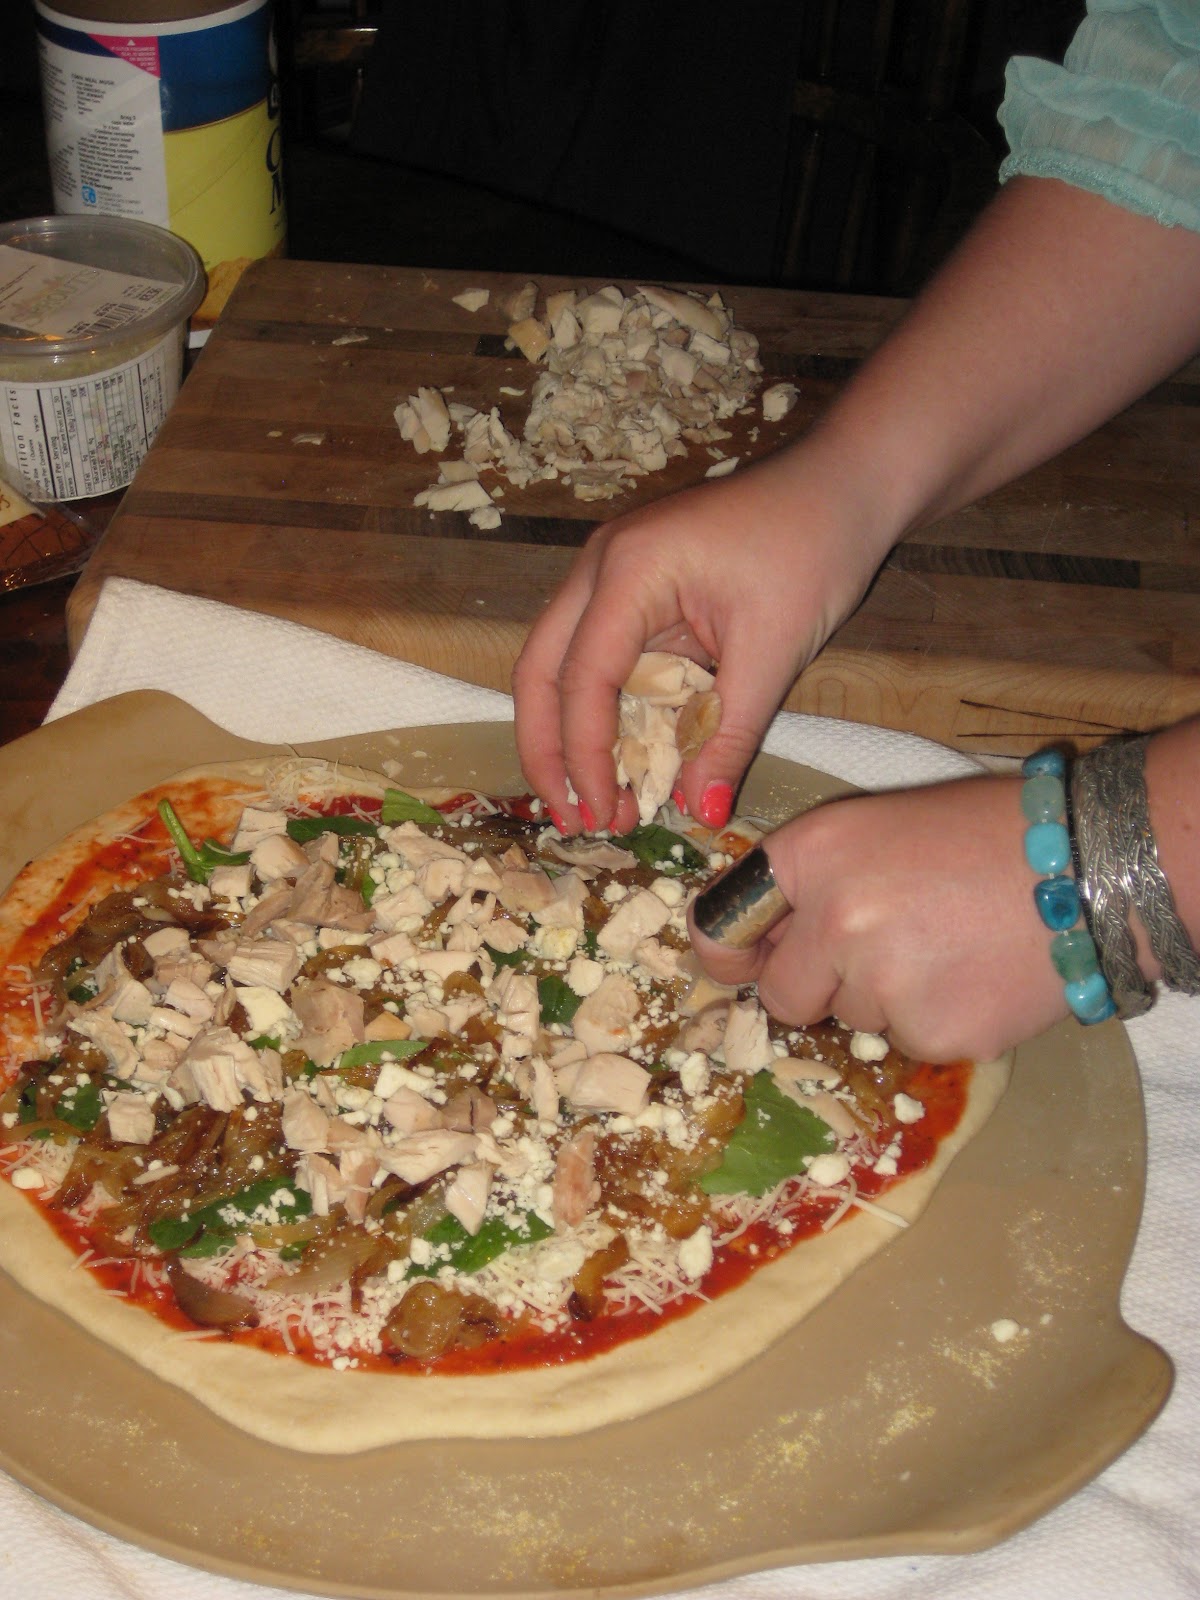
Now spread the chopped up chicken breast all over the top,

and sprinkle more cheese on top.
Yes, I realize that is three layers of cheese, but that's how we roll.

Fresh out of the oven.... four words...

GET IN MY BELLY!!!
Next!
Vacquero Pizza
Elizabeth's pizza.

Smush it down,

roll it out.

She thought for a hot second about throwing it up like a pro.....

Cover it in sauce,

and sprinkle on some cheese.
Now this is where it really gets wild. I don't know how she came up with this!!! Here is the complicated and extensive list of ingredients:

Pepperoni, which can only be found at select gormet grocery stores, and jarred jalepeño peppers, which must be phone-ordered and shipped directly from a remote island off the coast of Puerto Rico.
But like I said, the pizza gods love us, and we just so happened to find these special ingredients at every single grocery store ever.
OK, I'm done picking on my sister.
For that paragraph anyway...

Be OCD about it or just shake them on, but get those little round things of whatever the heck a pepperoni is on top of the cheese.

And do the same with the jalepeños and a little more cheese. I can make fun of her all day, but this is a seriously good pizza! We'll eat those jalepeños on about anything but they just belong on pizza.

Since our other pizza stones were in the oven, we had to make the last two on cutting boards, so thankfully we had Jason do to the sliding around for us.

And here it is all plated up.
Fun fact: Elizabeth and I both worked at the local pizza place in our hometown. We would eat this pizza at least once a week, but our favorite thing to do was take their homemade ranch dressing and stir in a TON of crushed red 'pizza' peppers to dip our pizza in. I could never get the silly shakers to dump it out fast enough for my liking, and after I did, it wouldn't stay on the pizza when I dipped it into ranch.... problem solved! I like my pizza with our special ranch all the time now and could probably eat it with salad!
Yeah, we like it hot!
Final pizza:
Prosciutto, Arugula and Anchovy Pizza
Micah and Jason's creation.
Prosciutto, Arugula and Anchovy Pizza
Micah and Jason's creation.

Roll out the dough into a "rustic" shape.

Dump out the last of a bottle of olive oil and spread it out.

Parmesan cheese,

and arugula!

And the best part - wad up strips of prosciutto all over the top.

Then, if you're weird like Jason and Uncle Kelly, spread a can of anchovies (uhhh just typing it gives me the heebie-jeebies!!) only on HALF of the pizza to spare the normal people like me!

All sliced up - demon pizza on the left and fish-free on the right!

Time to dig in!


Serve with a big ol' salad with balsamic vinaigrette

and a delicious local wine!


And for dessert, "Nana Pudding!" Recipe coming up next!
This pizza was SO SO good, I could have eaten it all myself. My stomach is like a bottomless pit when it comes to pizza. I made two batches of dough to make four medium-sized pizzas, but you could easily make one batch into four personal-sized pizzas and have everyone in the family make custom pizzas to their liking.
As always, be creative and have FUN!
Happy cooking,
-Hallie
As always, be creative and have FUN!
Happy cooking,
-Hallie
Nana's Pizza Dough
1 package yeast
1 cup warm water
1 tsp sugar
1 tsp salt
1 Tbsp olive oil
3 1/2 cups flour
Dissolve yeast in 1 cup of warm water then stir in sugar, salt and olive oil.
Beat in 2 cups flour until smooth, then add remaining 1 1/2 cups flour and knead until smooth and elastic.
Cover and let rise about 45 minutes.
Punch dough down and divide onto two pizza pans. Brush with olive oil and/or spread with sauce, top with cheese and other toppings.
Bake at 400ºF for 25 minutes.
Nana's Pizza Sauce
6 oz can tomato paste
1/2 cup water
1 tsp salt
1 tsp oregano
2-4 cloves of garlic, minced
Dash of black pepper
Whisk ingredients together until smooth and combined.
No comments:
Post a Comment